14' Series My 14.44-4 Journey

Prydey

Member
Apr 24, 2018
59
70
18
Woodcroft, Adelaide.
Finally picked up our van on Saturday. Just a lazy 1000km round trip almost.

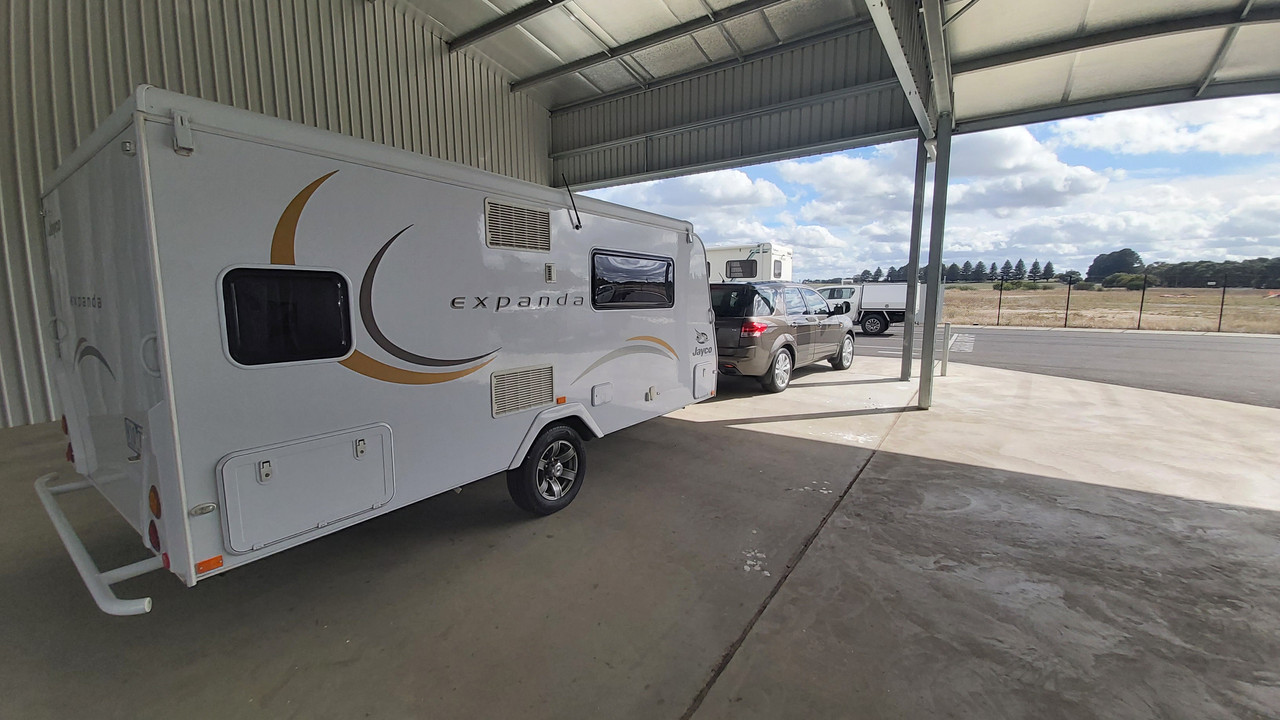
Hooking up at Jayco Mt Gambier


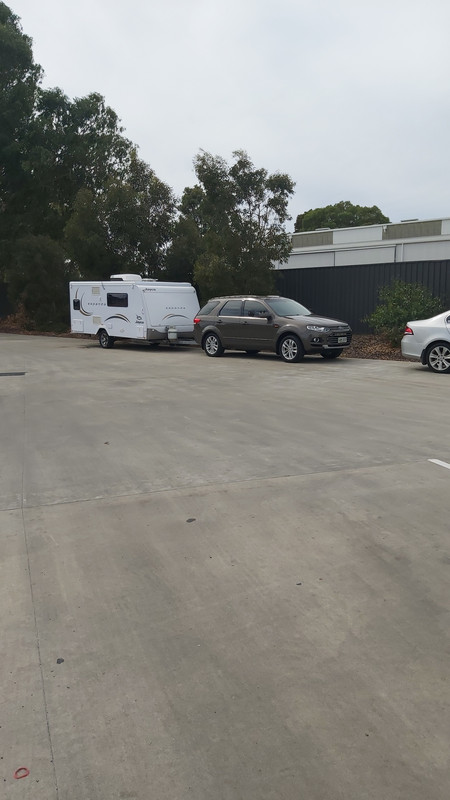
Lunch at Naracoorte on the way home


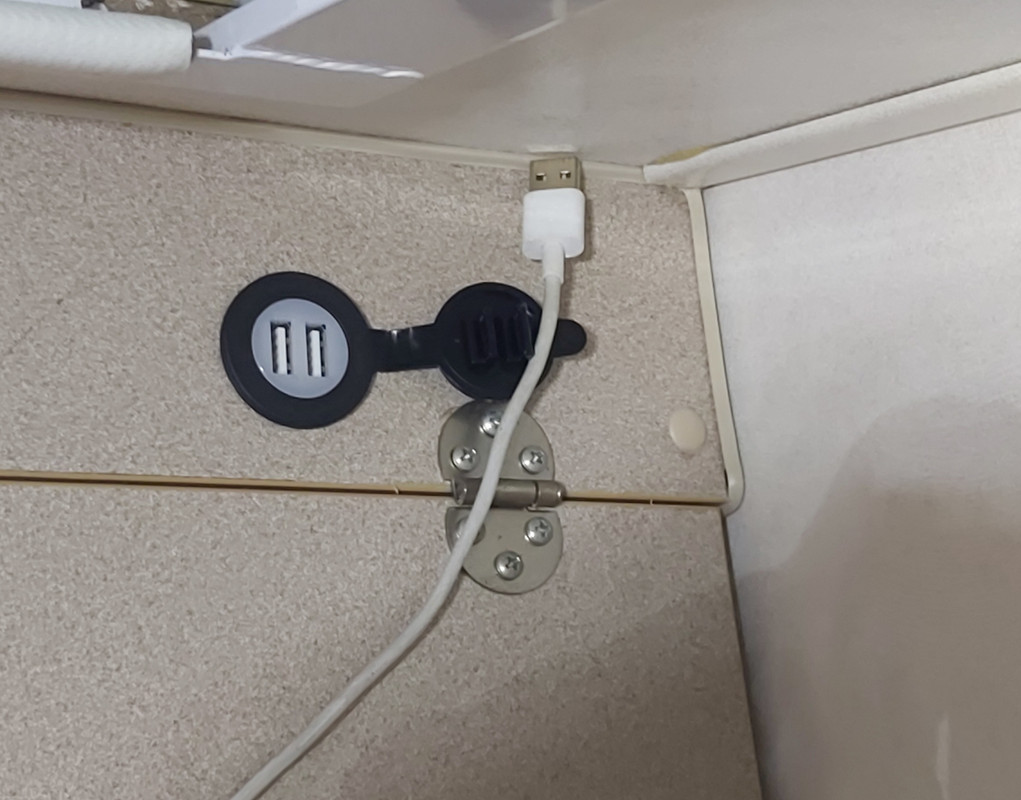
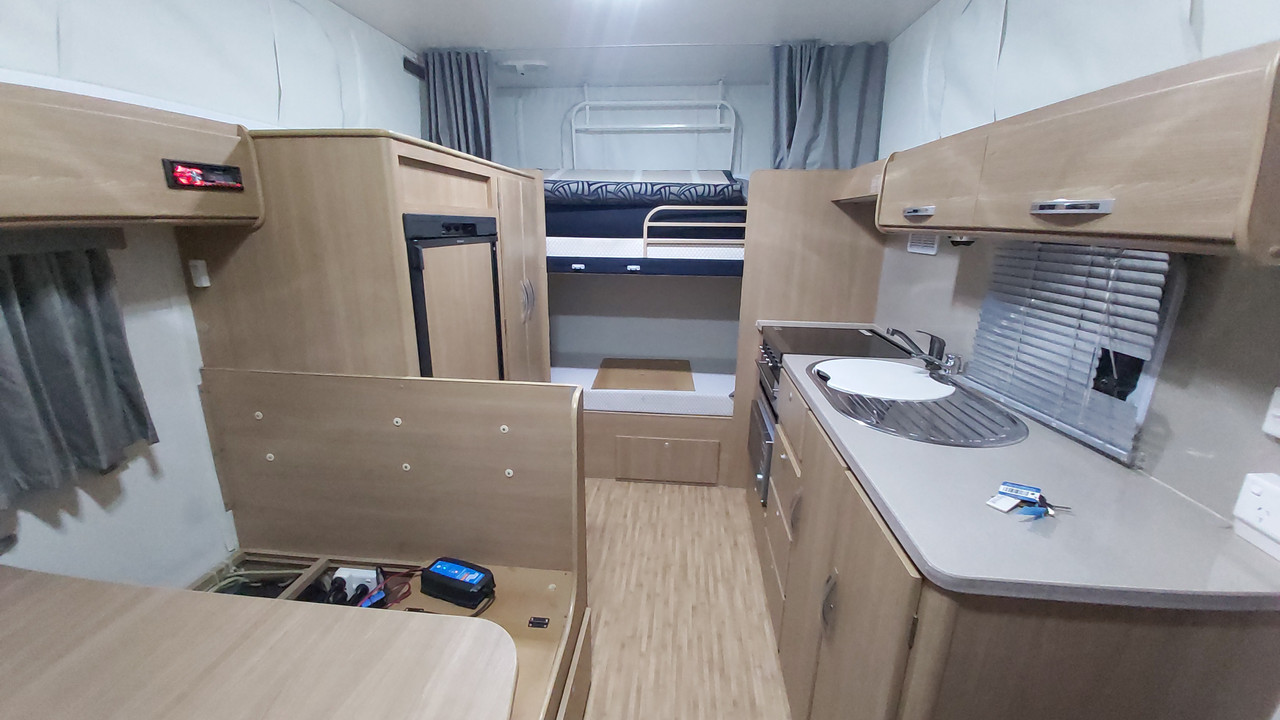
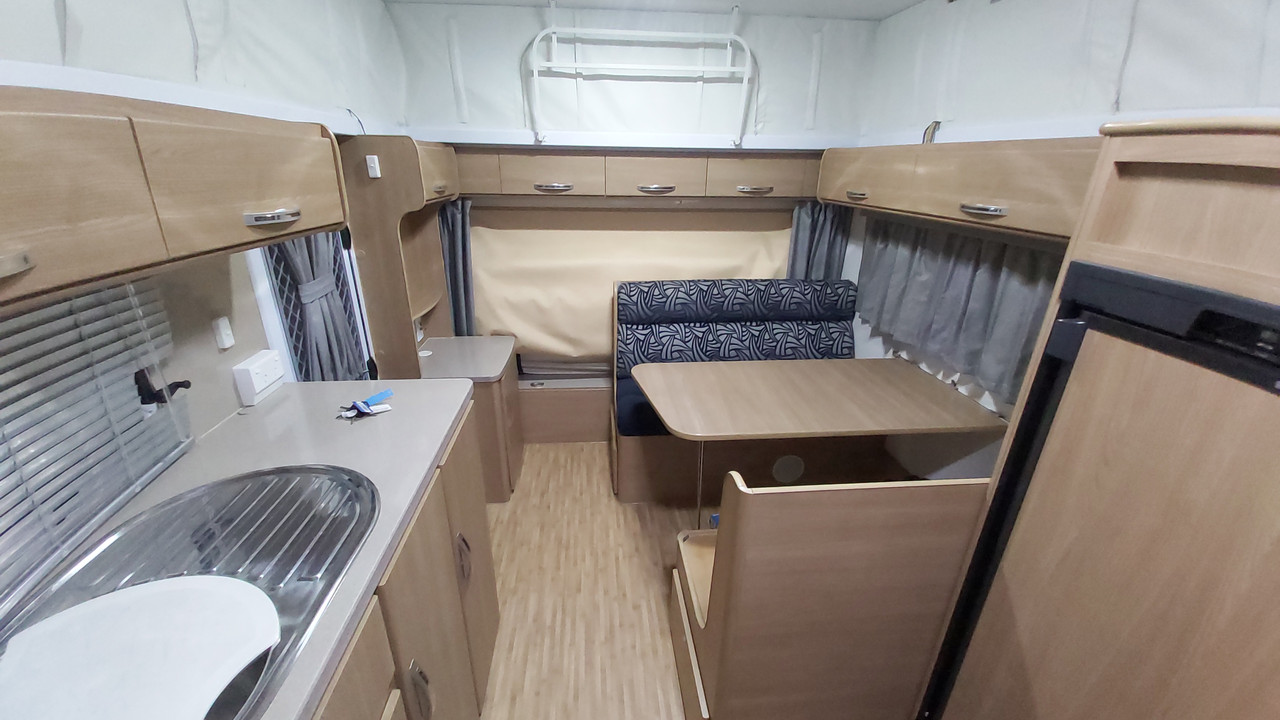
Nice and tidy inside


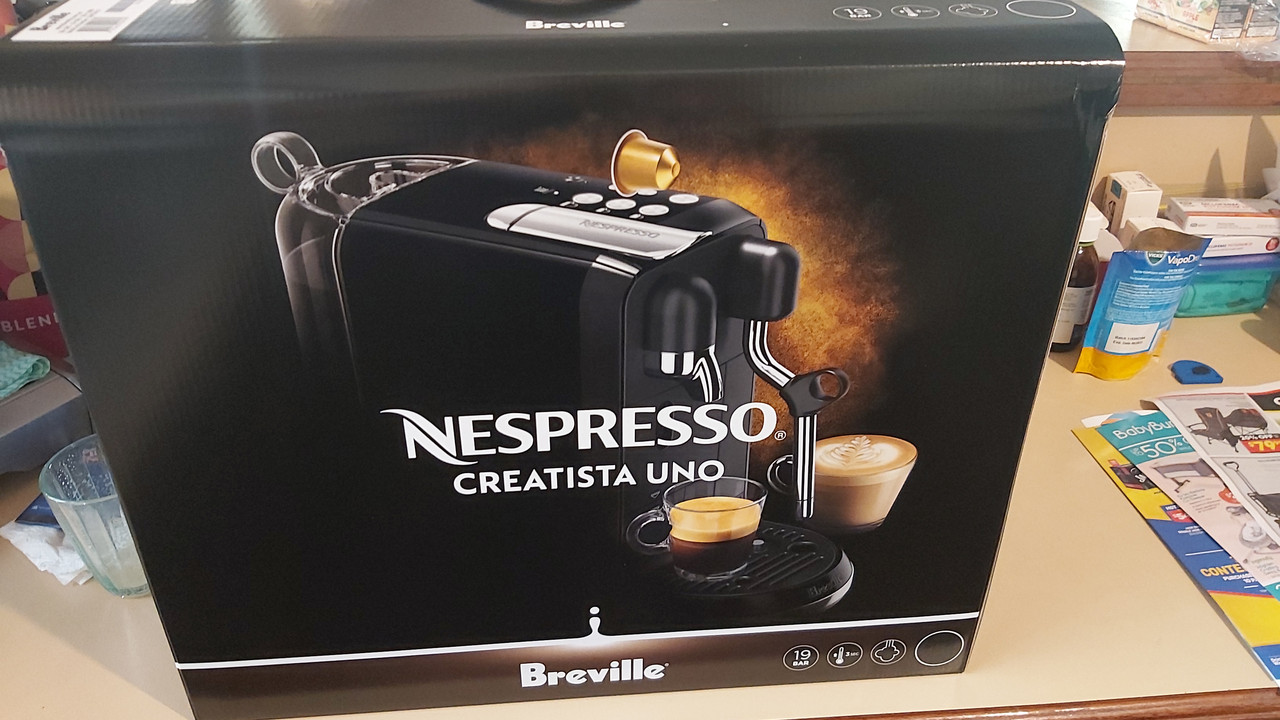
And a vital piece of equipment already purchased. Its no match for the grinder and espresso machine, but with benchspace at a bit of a premium, and in the vein of keeping things simple, we decided to go down this path. Tested it at home and its acceptable.


Towed really well. I bit bouncey on rough roads, but not enough to cause any concern. I don't have a 12v compressor, so couldn't increase the rear tyre pressures to what they should be for towing, so that will help next time.

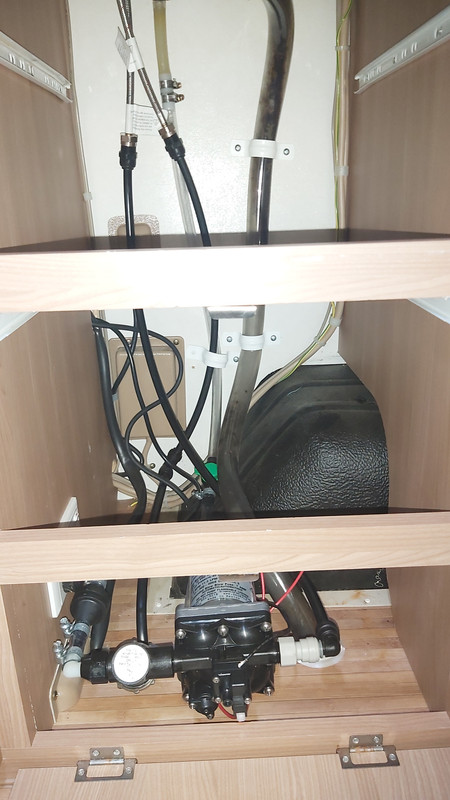
Really happy with the overall condition. Have 12v water pump (shurflo 4009) ready to go, and 200w solar, victron mppt regulator and victron 2000w inverter coming. I can do some of the install, but I think I'll leave the solar panel to the professionals. Not that keen drilling through the roof. I'll leave it to someone who's done it all before.

Let the journey begin.
 

Drover

Well-Known Member
Nov 7, 2013
12,723
19,450
113
QLD
Just make sure they leave at least 50mm gap between the roof and panel, more air flow under the panels the better, large footed alloy angle on the roof mostly glued holding it all down with some screws for positioning, screws on their own not great as not much for them to bite into...........

Set your tyre pressure when cold (20-25c) then once they get hot, if between 4-6psi higher then all good, if pressure higher then add more air if the same then too much air inn tyre, don't rely on the tyre placard...... always check your wheel nuts don't rely on others say so, with alloy rims ideal to use a torque wrench on them when cold, you will find they wont change usually but check when cold, swinging off a wheel brace when they are hot is not a good idea with alloy rims... I find using a torque wrench I never loose the tension... unless a stud has broken.

Van looks good, they are a brilliant rig I reckon.....
 
  • Like
Reactions: Boots in Action

Prydey

Member
Apr 24, 2018
59
70
18
Woodcroft, Adelaide.
Shurflo water pump installed... Just have to wire it up.


Was hard to take pictures to get a good overview.

I leave the mains going to the hot side of the mixer tap.

I put a T piece in the hand pump line and connected the pump. I put a tap between the hand pump and T piece to isolate the hand pump. I realise there is a non return valve below the hand pump already but in my experience with the previous van, the pump could suck air back through that tap and valve, so a permanent tap installed in the line fixed that. It never gets used but I leave the hand pump there just in case the battery fails or pump fails.

The pump outlet I run up to the cold side of the mixer.

I fill my tank from the house, with filtered water (underbench filter system). Yes, that takes a while at roughly 2L/min but I just set a timer and leave it. Check it about 35-40min later.

So if we have a water hook up, it's tank water for drinking, cooking etc and mains for washing.

To wire it in, I'll probably put a gauge with an isolation switch just inside the door on the end of that cupboard. You can see factory wiring at the back of the under sink cupboard in the pic. I'll follow that through. To get to the battery I'm going through the floor and under the van and back up in to the battery area. I have conduit but unsure of exactly what I'll do going through the floor, whether to use just a rubber grommet or a cable gland.

Hopefully by the end of today it will be functioning.
 

Drover

Well-Known Member
Nov 7, 2013
12,723
19,450
113
QLD
Looks nicely done and sounds like it should work okay, the water lines to and from pump I would run a bit of insulation over them where they touch things as a good chance they will transmit the pump noise....

The only concern I have is the power point in that position, its not safe at all, shouldn't be in the same enclosure as the water lines, even moving the point higher up its not safe , I would relocate it to an adjoining cupboard away from the danger.
 

Prydey

Member
Apr 24, 2018
59
70
18
Woodcroft, Adelaide.
Power point there is factory. I realise there is some risk if there is a leak but I think it's a small risk. Maybe I'll add a piece of something under the switch, covering the pipes just in case.
 

rags

Well-Known Member
I dont think the power point is an issue. Plumbers and electricians have been sharing cupboard space for ever, I can think of mult occurances in the home, the kitchen sink cupboard is the best example with the power point for dishwashers and dishwasher connection and drain hoses, water filters connected with John Guest fittings and braided hoses that will fail within 5- 10 years all sharing the same space. The spa bath pump is another example.
 

Prydey

Member
Apr 24, 2018
59
70
18
Woodcroft, Adelaide.
Switch installed


Spent a lot of the morning trying to find a water tank level gauge that included a pump switch, and looked half decent, but the only ones we came across were big chunky things or didn't include a switch. Will have to source something from online, although checking water level via the fill tube has worked good enough up until now. Anyway, having wasted half the day, and then F1 taking care of the rest, I didn't quite get as much done as I'd hoped. Just put a standard switch in for now.

I did run some wires to the battery just to test everything and all worked perfectly. At least I know it all works.
 

MDS69

Well-Known Member
Jul 6, 2014
727
789
93
Coast to Coast do tank gauges with pump switches. Single tank and twin tanks.
 

Drover

Well-Known Member
Nov 7, 2013
12,723
19,450
113
QLD
I dont think the power point is an issue. Plumbers and electricians have been sharing cupboard space for ever, I can think of mult occurances in the home, the kitchen sink cupboard is the best example with the power point for dishwashers and dishwasher connection and drain hoses, water filters connected with John Guest fittings and braided hoses that will fail within 5- 10 years all sharing the same space. The spa bath pump is another example.
True, have never been keen on that point under the sink in house but then only rarely seen the cupboard awash, though in vans a bit more often from joins letting go................. yet they have rules for bathrooms and laundries regarding power points....
 

Prydey

Member
Apr 24, 2018
59
70
18
Woodcroft, Adelaide.


Install is complete. I went under the van with the wiring through some 25mm conduit mounted behind a cross member. Bit hard to see in the pic, but you get the idea. I found some cable glands that although weren't long enough to go right through the floor, they did thread into the floor (13mm hole) so they are nice and tight.

Once all the drawers were back in etc the noise was a non issue. Not quite sure why some people complain about the noise. Certainly not an issue for my ears.

Now to fill it up ready for a trip on Anzac weekend.

Next job is solar panel install. I was going to do it myself, then got a bit daunted by drilling a hole in the roof, so asked around (jayco, dario etc) and found
many places booked up for months. So now watching YouTube videos and re thinking having a go myself.
Mounting the panel had me worried too, about the integrity of the glue, but I think the issue is more with the plastic style mounts. More research required there but glueing panels is the industry standard so as long as it's prepped well it should be ok.
 
  • Like
Reactions: chartrock

Prydey

Member
Apr 24, 2018
59
70
18
Woodcroft, Adelaide.


Another 'mod' so to speak. Swapped out the older reading light in the bunk to a new one with usb and white and blue lights. $38 direct from jayco. Mount was a bit smaller so did end up with a visible screw hole but no one except my daughter will see it.
 

Drover

Well-Known Member
Nov 7, 2013
12,723
19,450
113
QLD
Use alloy angle with a large footprint, Sikaflex marine adhesive on a well cleaned roof, scour the alloy, I like to add 2 small screws as well to hold it down while the adhesive sets, not super tight either.......... if possible mount panels to the rear away from the air flow when moving or use an air dam to deflect the air over it/them with panels at least 50mm above the roof.
 
  • Like
Reactions: Boots in Action

Prydey

Member
Apr 24, 2018
59
70
18
Woodcroft, Adelaide.
Use alloy angle with a large footprint, Sikaflex marine adhesive on a well cleaned roof, scour the alloy, I like to add 2 small screws as well to hold it down while the adhesive sets, not super tight either.......... if possible mount panels to the rear away from the air flow when moving or use an air dam to deflect the air over it/them with panels at least 50mm above the roof.
Thanks. I had a look on the roof this morning and the only place I'd put it is across the back behind the a/c. Lifting the box, it is heavier than I realised too. Probably around 15kg. I might sit the box on top and put the pop top up and down to see what difference that weight makes to lifting it.
I think I will still get someone else to do it. I don't need solar until probably next Easter anyway. Most of what we have planned in the near future is powered.

Part of me thinks I was a bit hasty getting a fixed panel and maybe I should have looked at portable... I guess I could still make some folding legs up for the panel I bought. Would make the install easier but then need somewhere to store a panel.
 
  • Like
Reactions: Drover

Drover

Well-Known Member
Nov 7, 2013
12,723
19,450
113
QLD
Not that hard to make some legs for one, just need to make sure they are removable when folding up or wont damage the panel............ could make a simple slide of sail track for panel on roof so you slide into position in camp and lock in with pin, remove at departure............ panel leans against esky on ground and plugs into anderson on van, a version I see a lot of actually.....
 

Prydey

Member
Apr 24, 2018
59
70
18
Woodcroft, Adelaide.
Not that hard to make some legs for one, just need to make sure they are removable when folding up or wont damage the panel............ could make a simple slide of sail track for panel on roof so you slide into position in camp and lock in with pin, remove at departure............ panel leans against esky on ground and plugs into anderson on van, a version I see a lot of actually.....
Have you got a pic of what you are trying to describe. Can't quite picture what you mean. Portable would be a lot easier with wiring.
 

Drover

Well-Known Member
Nov 7, 2013
12,723
19,450
113
QLD
I could show you my portable for a leg design but I have to empty the boot to get it out, have a look at the Kings web site I think you can close up of the various legs only a bit of alloy square bent and a picnic table leg hinge.....
.............
1650006421574.png
.
.............................. If you Google Portable Solar panel legs you will see a wide variety, simple is best...but needs to be able to change the angle for different times of day.


.............. My slide mount idea for a roof panel is just 2 length of sail track riveted/screwed to some angle fixed on the roof , use the rail section on the roof , one end stoppered and the open bit of track is riveteted to the frame of the panel, stand on ladder and slide on, use a drop nose pin to hold in place and plug in to an anderson on roof or to one mounted under van..... of course to originally fit you would have it all together and lay it on roof to fix the angle to roof by adhesive and some small screws, when its dry slide panel out and it all should be happy.......... I had it in mind for my 14.44 and a few campers but never got around to doing it, as it was my option for having truly portable panel for shady areas and lift up roofs, the same panel can sit on roof or out iin the open as a portable when rig in shade, even slide onto ute canopy, I'm positive its a workable versatile solution to weight, storage and shade problems.... with the controller inside van/tug or wherever, even the controller can be portable as my spare has anderson plugs hanging off it and velcro on the back, if the van one gose cactus it all plug an play to replace, 2 min job.
 
Last edited: